
– Adeniyi Temilade, ABH Press
From classrooms to boardrooms and lecture theatres to amphitheatres, the use of PowerPoint presentations (PPPs in this article) have been integrated into our daily lives and this isn’t going to change anytime soon. PPPs can be used for numerous purposes in various ways across different fields. Majority of people who use this application feel they already know the basics, thus, hardly feel any special need to acquire more knowledge about it. However, at the end of this series, you would appreciate that many of us are actually Jon Snows, in one aspect or the other (i.e. We know nothing).
There are two major aspects to consider as regards PPPs, the first being the preparation of the slide itself and the second involving the presentation of slide show proper, which is the focus of this first article. Mentioning everything one needs to know about Microsoft PowerPoint is almost impossible and is not the purpose of this article, rather, things that would make your presentation run smoother, faster and be more attractive would be discussed.
(N.B: Microsoft PowerPoint 2016 application on Microsoft Windows 10 Operating System was used for this article. If you have an older version, as many people do, still proceed, as almost all the features below are also included in many older versions, but may appear differently from the pictures displayed below.)
1. Opening the presentation on your PC : PPPS are stored in “.PPT”, a file extension and all text, images, sound and video used in the presentation are contained in the PPT file.
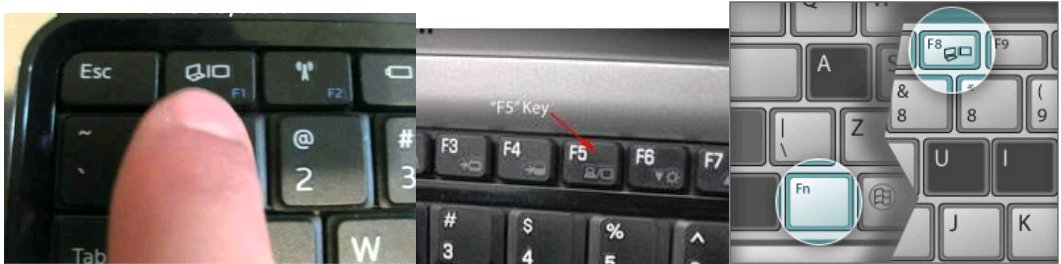
2. Connecting your computer to the display: This is done most commonly with either a VGA cable (which is older) or an HDMI cable. After connecting, look for the projection button on your keyboard, the specific button varies, but it is often a function key. e.g. F4, F8. But it looks like this:
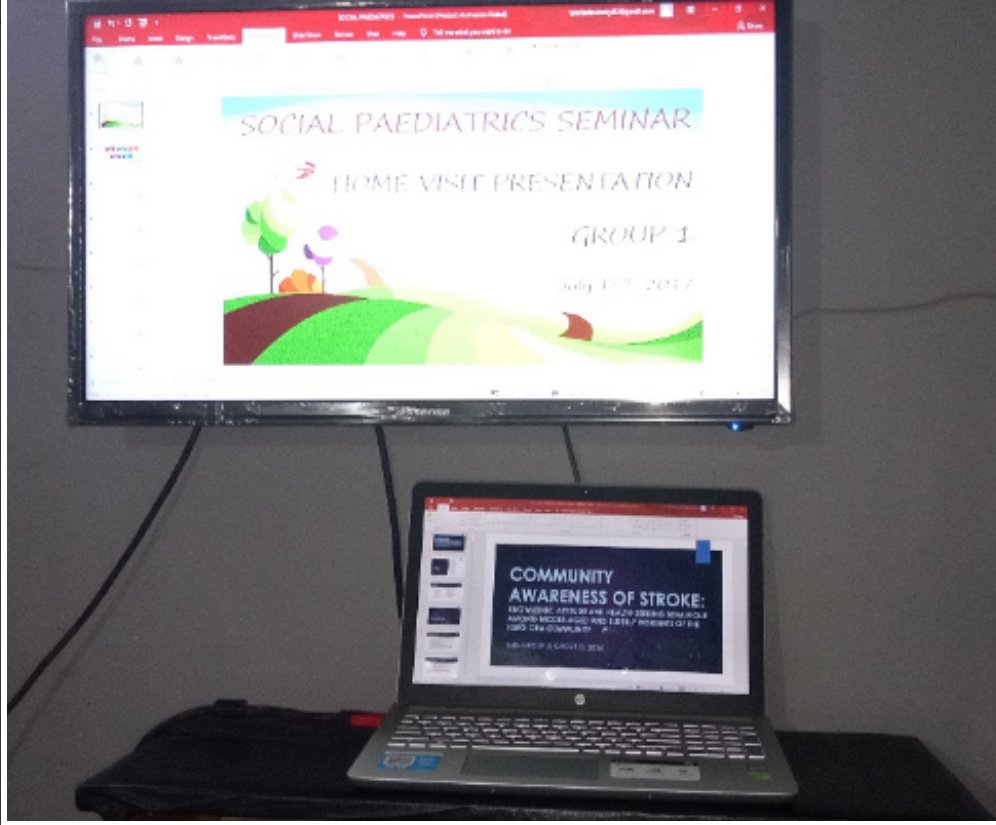
3. Using the different display modes optimally: This is a critical point that affects the rest of your presentation, and it is where some presentations start to get clumsy. The “PC SCEEN ONLY” and “SECOND SCREEN ONLY” are pretty straightforward with the latter being used in cases where the laptop screen is also facing viewers and may be distracting (like when projecting a movie). Majority of presenters use the “DUPLICATE” option which enables exactly what is seen on your PC screen to be projected onto a larger screen for viewing. This has the benefit of letting you face the audience during your presentation.

4. Using the “EXTEND” option: If you’ve ever needed to work on your PC in the background while projecting something different on the larger screen, this is for you. This is one feature people often do not know how to use properly and is key to making smoother presentations. To understand it, picture two screens placed side – by – side, the PC’s on the left and the projected screen on the right.

When you select the “extend” option, the projected screen is often blank and your PC screen remains the same. To project to the “big screen”, all you need to do is drag the page/window to the rightmost end of your PC screen and it would slide onto the projected screen. (You drag using the title bar, the topmost part of the document that contains the title of the presentation).
To control both screens, you have one cursor, which if you slide to the leftmost part, would be on your PC screen, and if you slide to the rightmost end, would be on your projected screen. This way you can have two different things displaying in both screens, thus enabling you to work on other documents, without viewers looking at the projected screen being able to see what you’re working on.
5. Starting your slide show: “F5” would start your slide show from the beginning while “SHIFT + F5” would start it from the current slide you’re on. You can also just start it by clicking the appropriate button at the bottom right corner.
6. Presenter view: This is arguably the best way to control your PPP as it enables you to manipulate your slides without the knowledge the audience. It lets you access the most important presentation aids of the power point presentation at a glance (e.g. pointers, highlighters, zoom), enables you to view the slide that would be projected next (so you always appear to know what is coming, like you have memorised the entire slide), lets you “see all slides” if you desire, and lets you see NOTES attached to slides, which lets you store more information on your slides which would be invisible to the audience, thus reducing the need for memorising!
To turn on presenter view, after “starting your slide show” as instructed above, right click on it and select “Show presenter view”. The screenshot of this presenter view is on the left side of the Extended view (i.e. the PC screen).
With my six tips above, I can bet your next presentation would be “lit” and we’re just getting started. The second part and third parts would be posted subsequently. Do feel free to share this link to benefit others, but most importantly, practise them yourself with a projector or a TV, which is more accessible. Questions and comments are welcome.
Source:
nutsandboltsspeedtraining.com; google images
Very enlightening article. Thanks for the tips.